

How To Parry Thrust Sekiro
Sekiro'south gainsay system is a pretty big break from the norm in From Software'south games, challenging you to be much more aggressive, engaged, and active in how yous tackle the various kinds of enemies in front of you.
Much of it is congenital effectually the thought of Perilous Attacks, merely there are also intricacies to learning how to deflect and parry effectively, how posture works and how to land Deathblows effectively, as well.
On this page:
- Sekiro gainsay system explained - posture, parrying and dodging
- Sekiro Perilous Attack symbols and how to counter unblockable attacks
- Other things to bear in heed with Sekiro's combat - Sekiro frame data and advanced tactics
Sekiro combat system explained - posture, parrying and dodging
As we mentioned to a higher place, Sekiro's combat is much more than ambitious than its equivalent in Dark Souls or Bloodborne - fugitive damage is patently however crucial, merely so is keeping up your momentum on the offence, and it'due south much easier said than done.
Sekiro Combat system explained - the nuts
There are two bars to bear in mind for every character in Sekiro - and that includes both your ain bars and the enemies'. The first is your Vitality, or health, which is pretty standard, and represented past the ruby bar. Have your reduced to goose egg past taking harm and you dice; reduce the enemy's to zero by dealing damage and they dice (or rather, they become susceptible to an execution via Deathblow).
The other bar is Posture, represented by the yellow judge that fills up from the center, which works in the contrary management: if yours fills upwards, your defensive guard is broken and you're stunned, unable to block. If the enemy's is filled up, they go susceptible to a Deathblow, also. The ii are also connected, nonetheless, and information technology's simply by managing both that yous'll have real success with Sekiro'due south combat in the long run.
Posture, parrying and dodging
Posture and Vitality are linked: posture recovers at a gear up speed for each enemy y'all face, but the lower a grapheme's Vitality, the slower their Posture will recover downwards to naught.
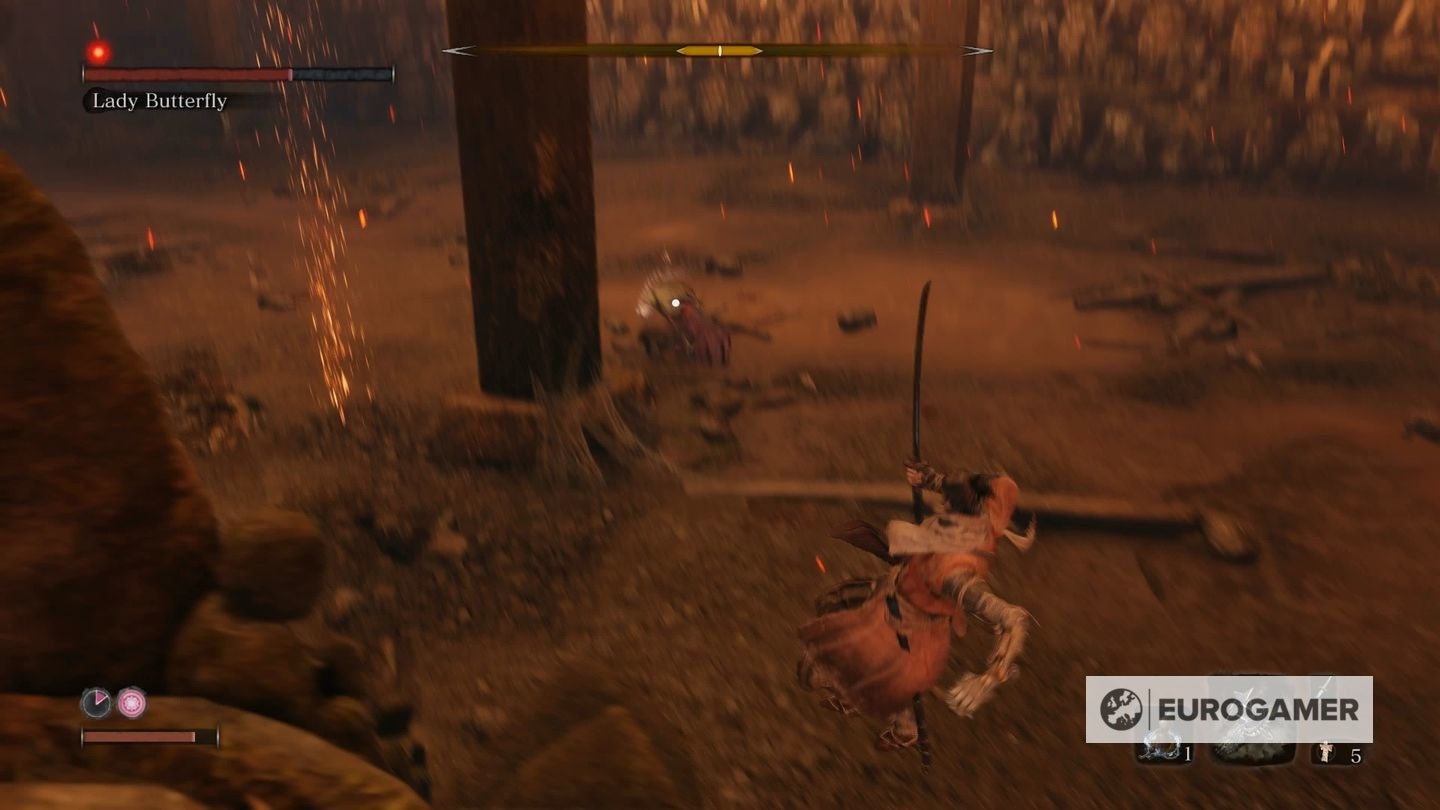
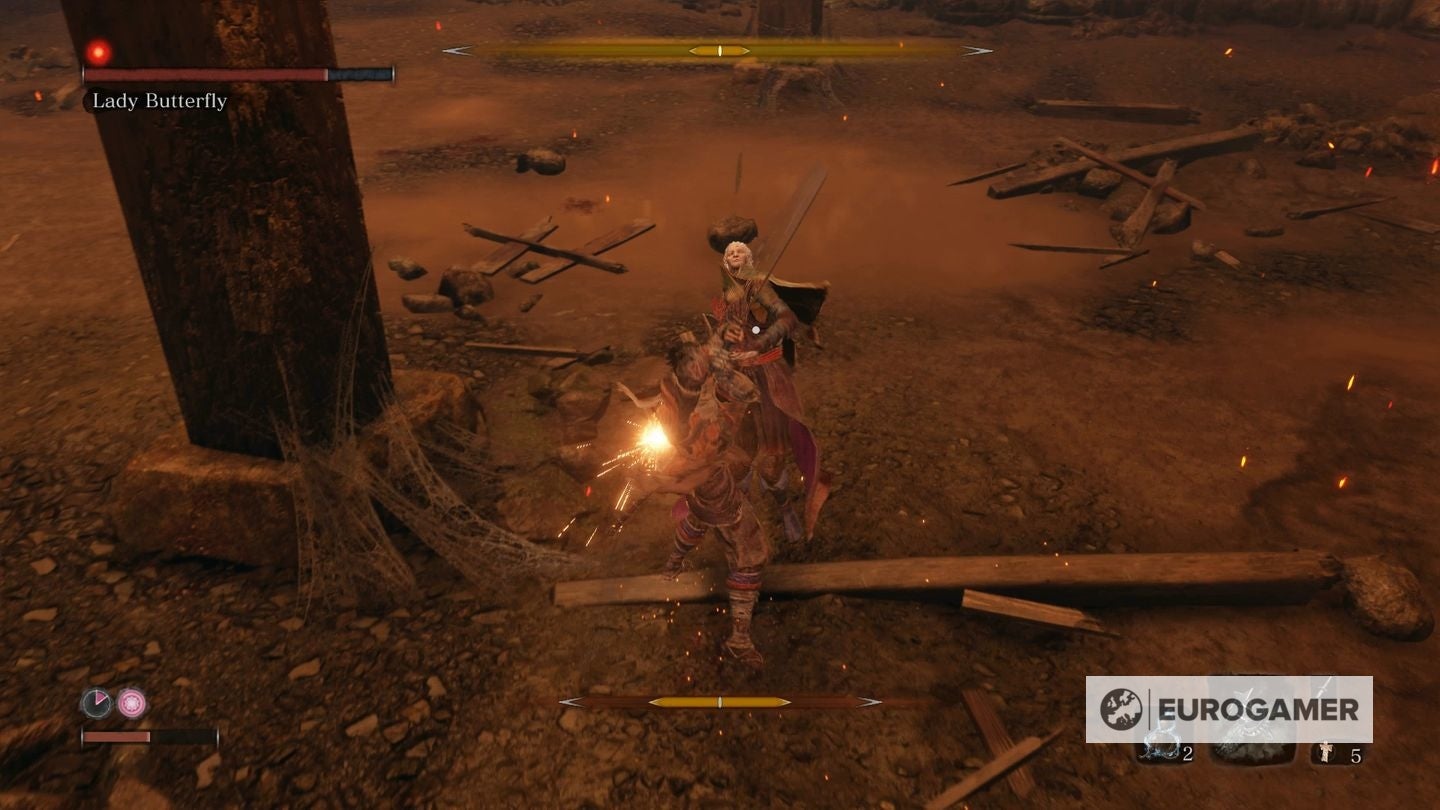
Some enemies' Posture recovers really speedily - looking at you lot, Lady Butterfly - then speedily in fact that it's almost impossible to fill up upward their Posture meter if they take full Vitality. In that case, y'all demand to deal some Vitality damage to them - actual impairment - to lower the recovery speed of their Posture. And then, y'all need to piece of work on filling that Posture bar.
Your own Posture works in the same fashion - on low health, your Posture will recover much slower. Try to keep your Vitality topped up if your Posture's taking a hammering by using the regular healing items similar the Gourd or Pellets. There's also another thing to bear in mind too: Posture recovers much faster when guarding - blocking by belongings L1/LB - and then create some altitude and hold block, fifty-fifty if you don't feel yous need to, to lower that meter a piffling faster.
How to break enemies' posture
There are two means to intermission enemy Posture (which both apply to your own Posture in the opposite situation, too).
The start is to assail. Landing blows to deal actual damage, or striking an enemy while they cake, will both deal moderate Posture impairment.
The second, and more effective in terms of pure impact on Posture, is to successfully deflect enemy attacks. You do this by tapping the guard (block) button with L1/LB only equally the enemy accident is right about to land.
It'southward hard to master, and intentionally risky. Successfully country several deflections in a row and yous'll do some serious Posture damage, simply mistimed attempts will leave you very vulnerable - there's a fraction of a second after a failed deflect (say you do it a chip early) where you can't immediately deflect again, so mashing the button volition only get y'all in more trouble.
Call back that the tougher enemies - bosses in detail - will demand some Vitality impairment too, or their Posture volition recover faster than yous can wait for them to attack and successfully deflect, even if y'all deflect everything perfectly. That, combined with the fact that standard attacks - blocked or otherwise - bargain some Posture damage too, is why Sekiro is about aggression as much as it's near circumspection.
Sekiro Perilous Set on symbols and how to counter unblockable attacks
From pretty early on in the game, you lot'll be introduced to enemies that use Perilous Attacks. These attacks are unblockable - yous can't just hold L1/LB to guard and wait the damage to exist mitigated (at the cost of some Posture) like it would be for a normal one.
Instead, countering Perilous Attacks is about playing a kind of rock-paper-scissors: responding to the right kind of Perilous Set on with the right kind of counter.
Reading Sekiro'southward Perilous Attack symbols, and how to counter the unblockable attacks
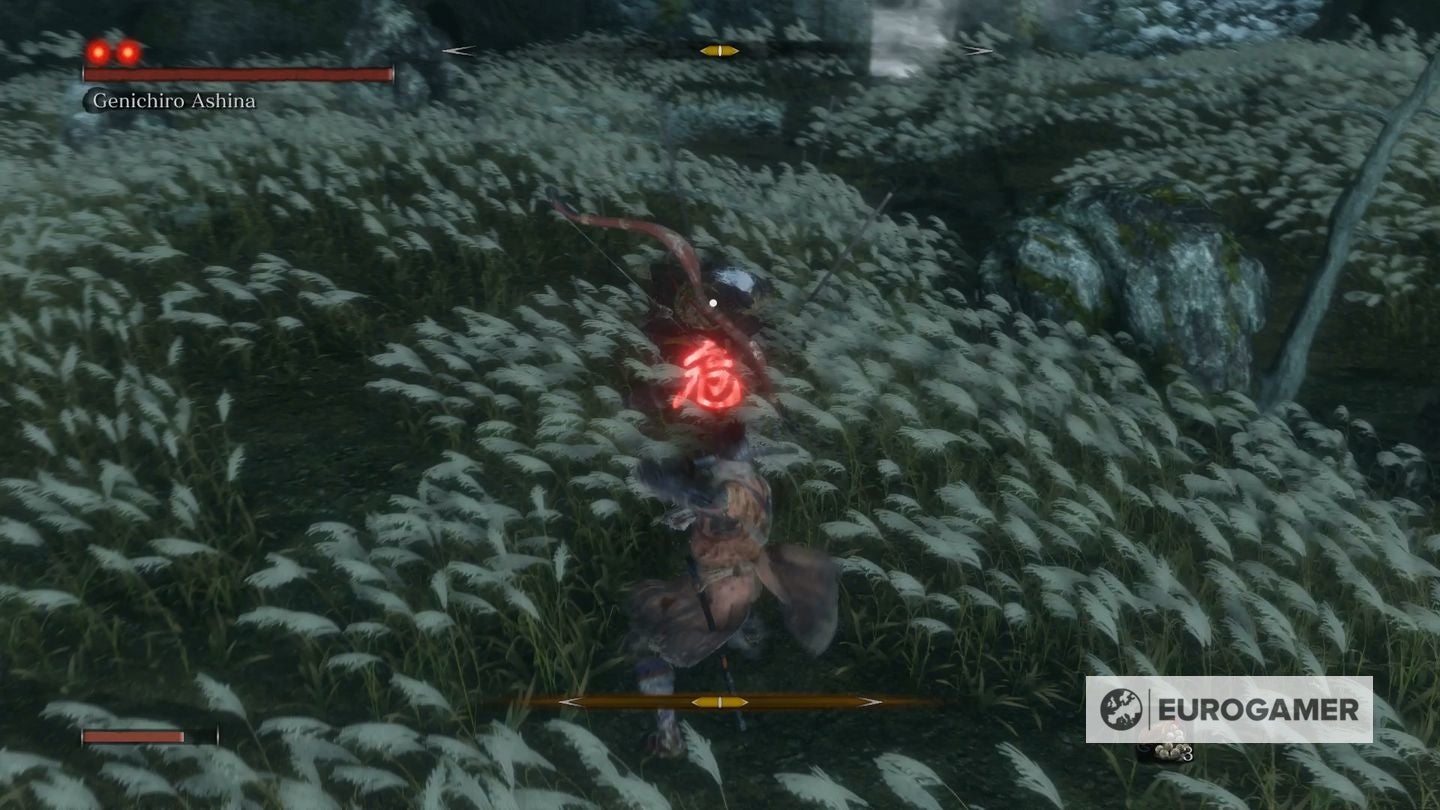
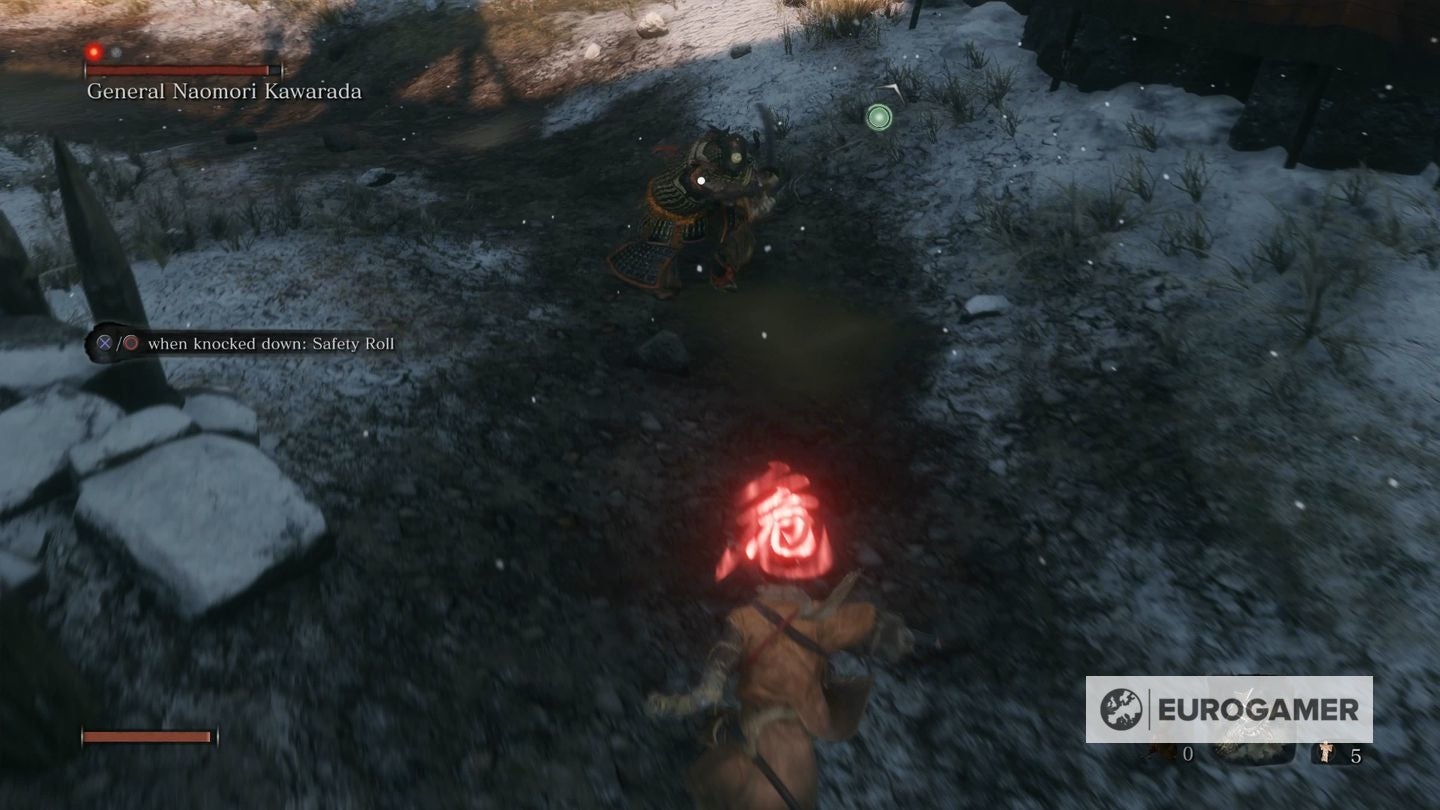
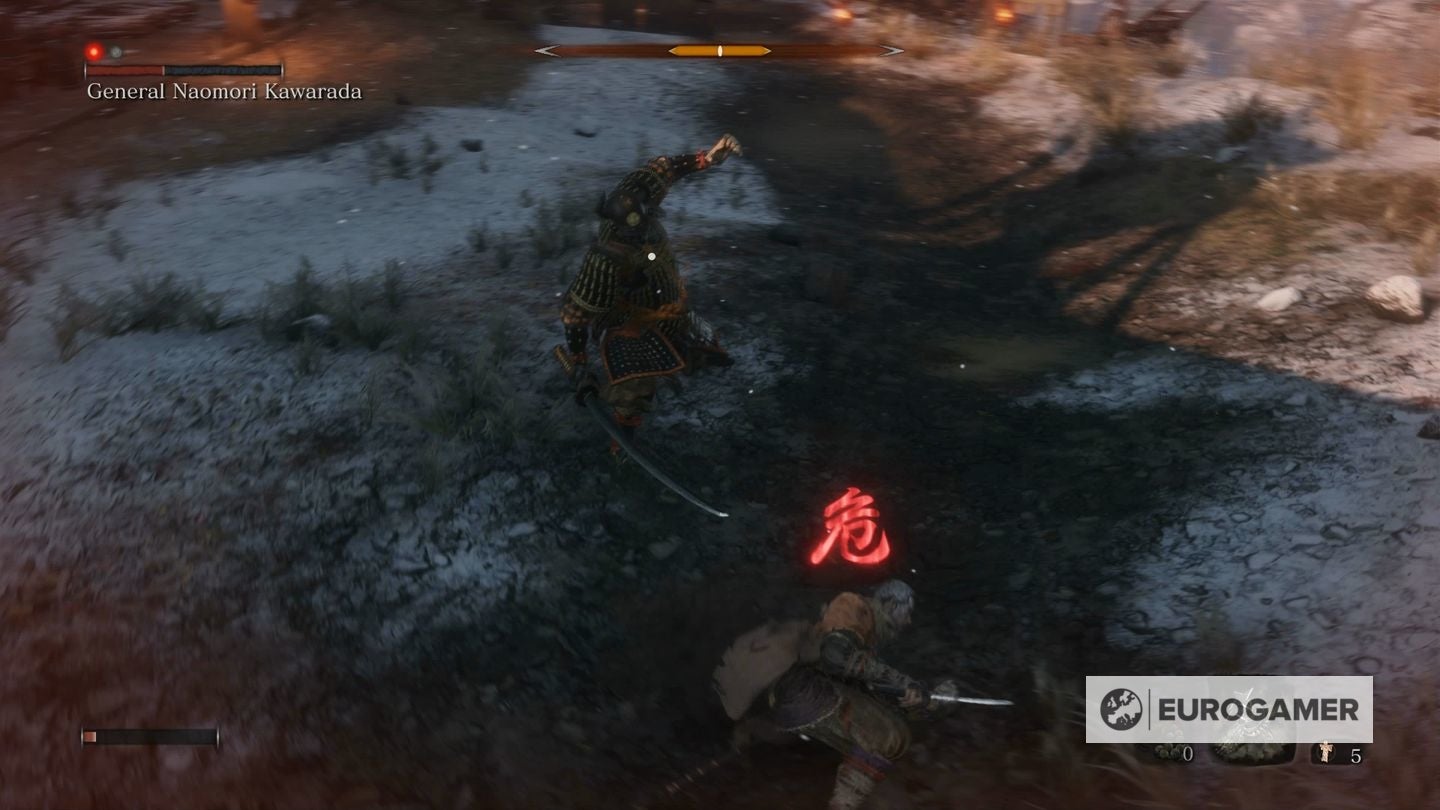
The Perilous Attack symbol - a red Kanji symbol that appears when a Perilous Assault is about to be performed by an enemy - is the same for all three kinds of Perilous Assail, as far as we can tell. Countering them volition come up downward to both knowing what the right counter is (as explained in a moment), and reading the enemy'due south body language to know which kind is virtually to be performed.
Here are the three kinds of Perilous Set on, and the advisable counter.
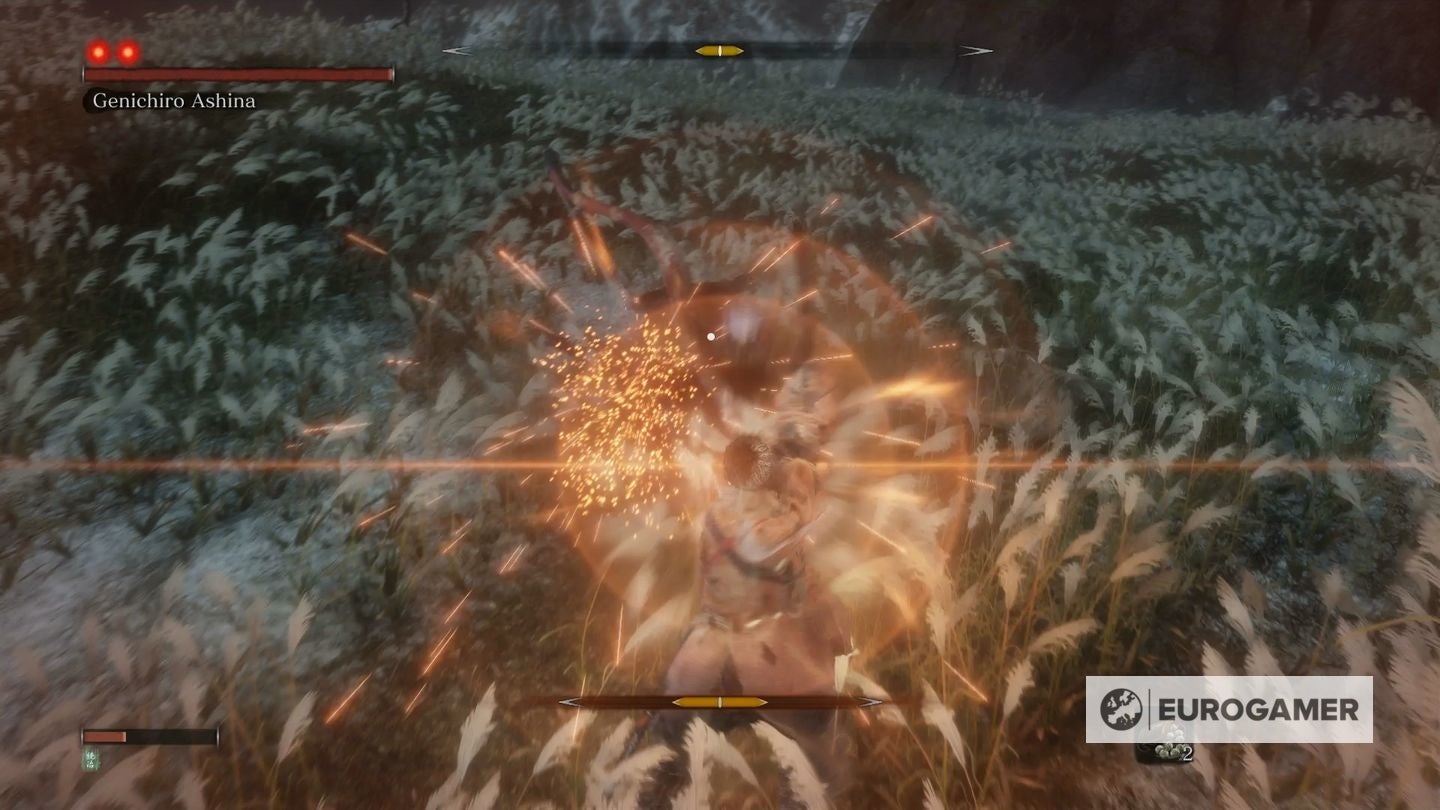
Thrust attacks - counter by deflecting the attack with a well-timed tap of L1/LB (call up you can't block it by property that button, only with a perfectly-timed deflection). A fantastic, and arguably easier culling to this is the Mikiri Counter Skill (more on that in our Sekiro All-time Skills and Skill Tree guide). Unlock it outset, and then y'all perform information technology by pressing the dodge-roll button (Circle/B) and the left analog stick towards the enemy'southward tiffin. You'll do massive Posture damage in the process.
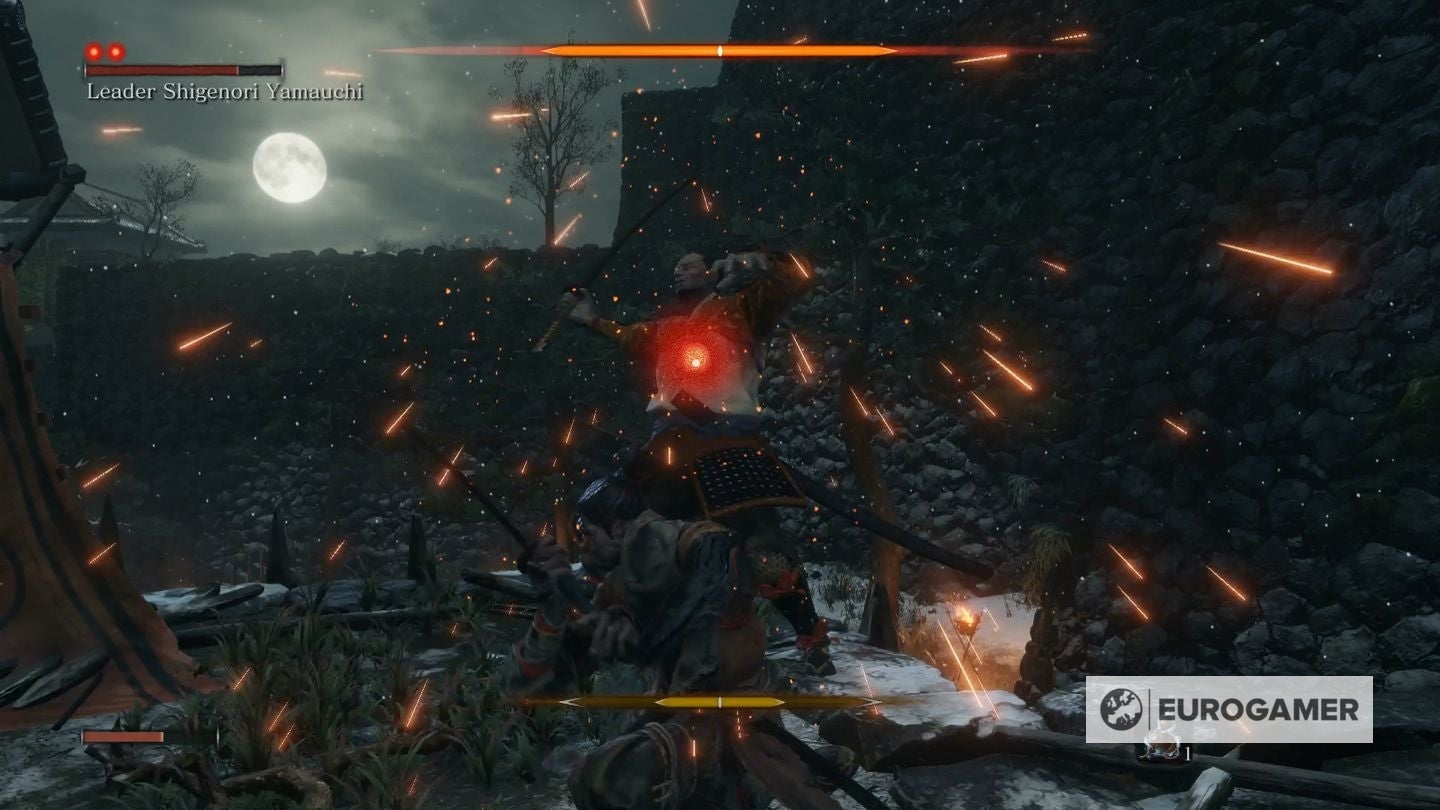
Sweep attacks - counter by jumping one time to dodge it, and rapidly pressing the spring button once more, like you'r double-jumping up a wall. This volition bob the enemy on the caput with a nice little boot, that actually does some great Posture damage in the process. If you lot're struggling with the double-jump, endeavour non to movement too much in the air, and don't panic: a standard bound is enough to avoid the move, and often leave the enemy exposed.
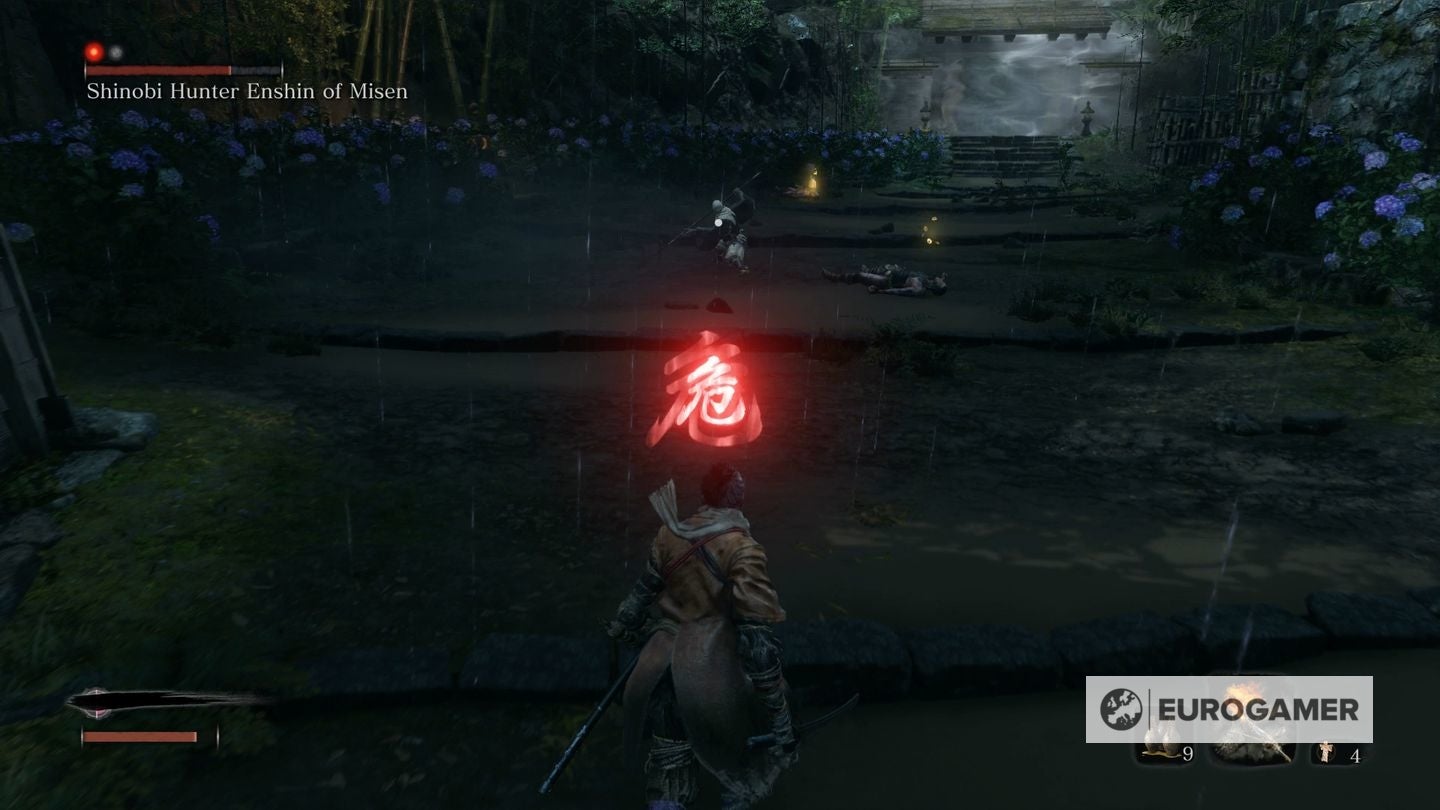
Grab attacks - counter past dodging to the side. These can't be blocked, deflected, or jumped over (although you tin oftentimes bound dorsum and sideways out of range if y'all're positioned well). Dodging will often go out the enemy exposed to a couple of costless hits while they're over-extended, but don't become carried away, as they'll quickly recover!
Looking for more Sekiro pages like this? First up, the first main Sekiro patch notes for update 1.03 are live. Otherwise, our Sekiro boss guide, boss list and walkthrough hub has everything in i place, including pages on Lady Butterfly, Genichiro Ashina Way of Tomoe, Folding Screen Monkeys, Corrupted Monk, Guardian Ape, Cracking Shinobi Owl, Emma and Isshin Ashina, True Corrupted Monk, and Divine Dragon. Nosotros also have in-depth pages like Sekiro tips and tricks to go you started, Sekiro Skills, skill tree and Esoteric Text locations explained, our deep dive on the Sekiro combat system, Posture, and Perilous Attacks, or details on all Sekiro Prosthetic Tool locations, how to cure Dragonrot and Rot Essence in Sekiro, Gourd Seed locations, a Divine Confetti farm route method, all Treasure Carp Scale locations, all, Prayer Beads locations and all Snap Seed locations, too. And when you're ready - the how to beat Isshin Sword Saint and an Isshin Sword Saint cheese, plus the many Sekiro endings.
Other things to acquit in heed with Sekiro's gainsay - Sekiro invincibility frames, frame data and advanced tactics
Fighting game enthusiasts - or even Soulsborne enthusiasts - tin can often exist overheard talking about things similar frame data.
It's complex, in a manner, so we won't go into massive detail, but in simple terms this is about how many frames - literally, of the usual thirty or 60 frames that the game produces per 2d - that a grapheme is allowed to damage, or exposed to damage due to 'stun lock'.
Certain moves in prior Soulsborne games gave yous a few frames of immunity, specifically the dodge curl. Exercise it at the right time and yous can't take any damage (more than or less); but then this was balanced out by things similar a Stamina judge that just let y'all perform so many rolls in quick succession.
In Sekiro: Shadows Dice Twice, at that place are no frames of amnesty on the dodge whorl. That'southward counterbalanced out somewhat by the fact that yous can perform information technology as many times every bit yous like, because there'southward no Stamina gauge, but even all the same, whatever fighting game actor worth their common salt will tell you that makes one-on-one gainsay in games like Sekiro, which takes fairly heavy influence from fighting games, very hard indeed.
There are "some" frames of amnesty in performing a Deathblow, simply this is only really relevant when fighting multiple enemies at once - if you're performing a Deathblow on one enemy there'd be another one attacking y'all for the amnesty to actually count - and in well-nigh cases yous want to clear out whatsoever surrounding enemies before yous fight a boss, anyhow.
Information technology's not ane to exist relied upon then, although we did notice information technology can get you out of trouble when the prompt does announced and you're getting swarmed, equally enemies will stop attacking until you're done with the animation, buying you lot some time for a quick contrivance or spring out of at that place.
The other affair we mentioned is "stun lock". In brief, this is when you lot or an enemy is staggered or stunned, even for just a moment, which gives y'all or them the advantage if yous're both trying to attack at once.
A adept case of this is in fighting Lady Butterfly: often, you lot can hit her with ii attacks while she blocks, and if you get for a tertiary she'll parry or block it and put you lot in a brief stun lock - if she attacks then (and she often does), then you won't be able to block or deflect it in fourth dimension.
Fighting the toughest enemies in standard 1-on-i combat then is, at the highest level, nearly studying how many hits y'all can land, if whatever, before you get caught in stun lock and put at a disadvantage. Once you lot know that, you tin can country that number of attacks - say, ii - to practise a fleck of Posture harm. Then respond to their attacks with well-timed deflections for more than Posture harm. Then respond to their Perilous Attacks with the appropriate counter for even more Posture damage, flake away at them at any moments where their guard is downwards for some Vitality damage then their Posture doesn't recover as fast, and repeat!
Like shooting fish in a barrel. Or not very like shooting fish in a barrel at all, but it's a strategy, at to the lowest degree. Focus on the rhythm of deflecting enemy attacks, not your reactions (tap, tap-tap, tap, tap - each enemy has a set few assault rhythms of their own that you lot can memorise with time) and you'll have more luck, and the remainder is simply nearly doing the to a higher place - responding to the horribly wide range of enemy types and strategies with the right counter-strategy of your own.
Good luck, Shinobi! You volition probably need information technology.

How To Parry Thrust Sekiro,
Source: https://www.eurogamer.net/sekiro-combat-system-explained-posture-perilous-attacks-how-to-deflect-dodge-counter-frame-data-6009
Posted by: reednornesiond.blogspot.com
0 Response to "How To Parry Thrust Sekiro"
Post a Comment